Using SDR-Radio (SDR Console) and Wsjt-X
(Examples of using RTL-SDR in uBITX #1)
http://www.hamskey.com/2018/04/how-to-connect-sdr-rtl-sdr-to-ubitx-and.html
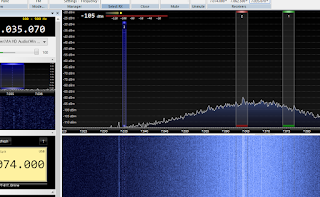
This article uses uBITX as an example, but it is also compatible with other radios that support SDR connections. This document is based on Version 3 Beta2.
1.Install
http://www.sdr-radio.com/Software/Downloads
Download & Install
2.SDR - Configuration
Click the 'Select Radio' Button
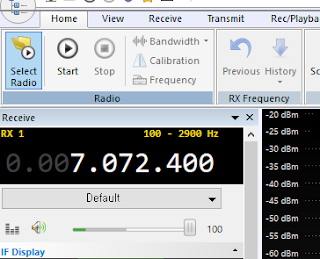
If you do not see the SDR connected to your computer, click the 'Definition...' button.
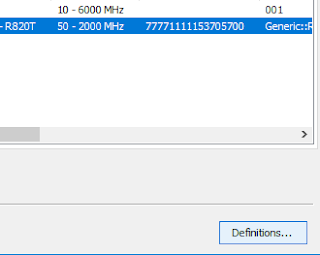
click the 'Search'
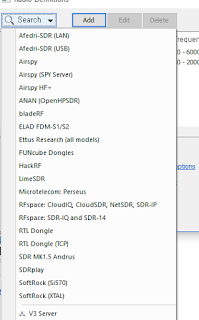
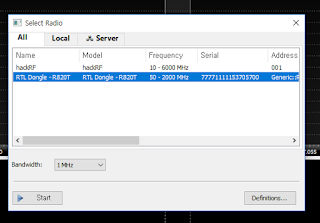
Select the SDR connected to your computer and click the 'Start' button.
Each time SDR-Console is executed, the following window will appear.
3.Omni-rig Configuration
You need to control one radio at the same time in two or more programs using the Omni-rig.
The SDR-Console and Wsjt-x we want to use both support Omni-rig.
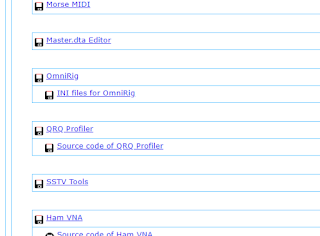
Download
http://dxatlas.com/omnirig/
http://dxatlas.com/Download.asp
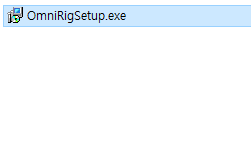
Execute 'OmniRigSetup.exe'
Configration Omini-Rig for your Transceiver (uBITX)
After installing Omini-rig, the following screen appears.
For uBITX, set rig type to FT-817 and baud rate to 38400 as shown below.
If it is not uBITX, you can adjust the speed with your transceiver.
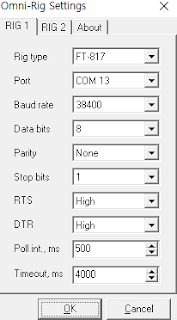
4.Connect with uBITX and SDR-Console
(You can also set up a regular HF radio that supports 'IF-Out'.)
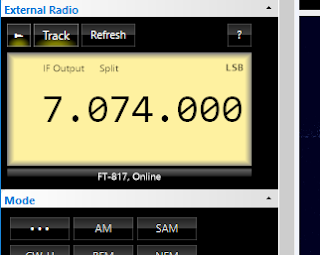
Click the 'Select' Button in View Tab
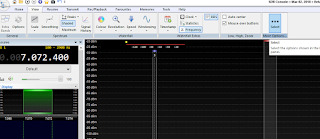
In order to control the transceiver from the SDR-Console, we need to add the External Radio.
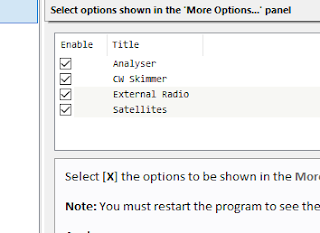
When the setting is completed, it is restarted in the SDR-Console.

The External Radio window is displayed on the right side of the screen.
Click the '?' Button
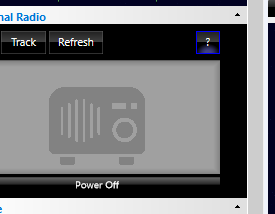
Click the 'Yes' Button
If Omni-rig is not running, the following message is displayed.

Select the transceiver you have set up on the Omni-rig.
Please select Tracking as below.
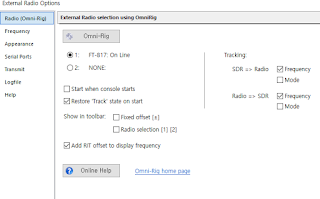
This is important.
On the Frequency tab, select IF output and enter the SDR output frequency entered in uBITX Manager.
I entered SDR Offset Frequency at 30Mhz (30,000,000) in uBITX Manager.
If your transceiver is not uBITX, skip this part.
You can find the IF-output frequency in your walkie-talkie manual.
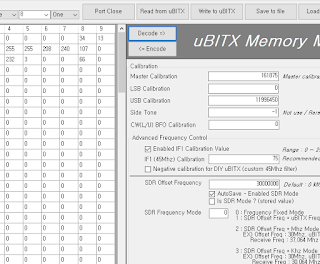
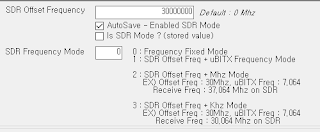
Input IF output frequency.
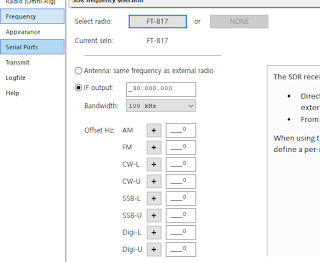
Press the 'OK' Button
5.Turn SDR Mode
(Depending on your radio, you can skip this part. This example is an example from uBITX. )
The example below is an example of a 20x04 LCD. In the case of 16x02 LCD, it appears slightly different.
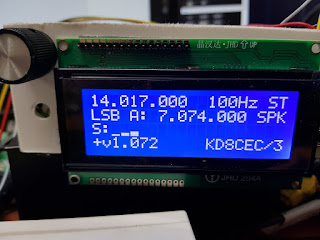
Select menu
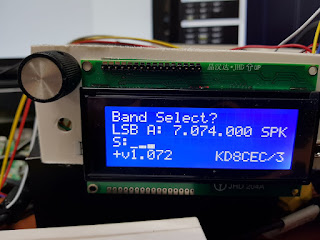
Select 'SDR Mode On?' Menu
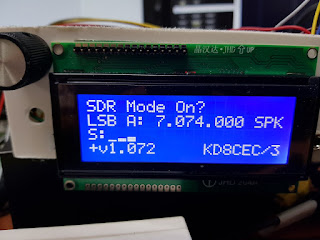
Press the function Button.
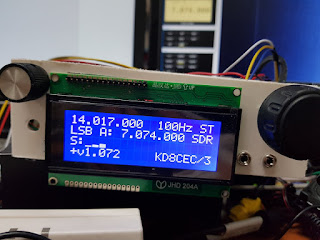
Instead of the SPK (Speaker) display, the SDR indicator appears.
In case of 16x02 LCD, 'SDR' is displayed at CW Paddle position.
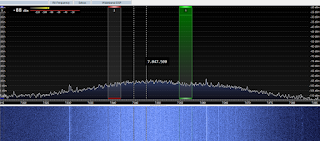
The signals received in the SDR-Console will be shown.
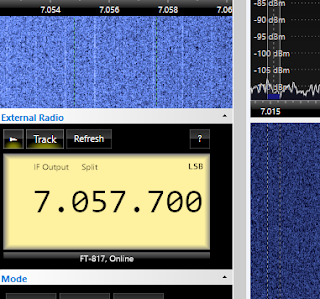
Changing the frequency of the transceiver also changes the frequency of the SDR-Console.
In SDR-Console, if you select the receiving frequency by using the mouse, the frequency of the transceiver also changes.
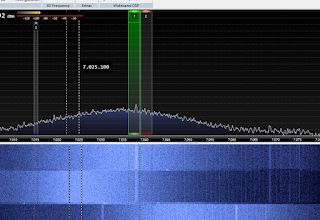
You can use SDR to receive and operate the transceiver.
If you are communicating via CW or SSB, you may proceed as far as this.
Perhaps you will send using CW Key or Mic and receive will be heard through SDR.
You can use SDR to remove noise, apply CW Filter, and use various DSP technologies for free.
This is the setting for using SDR and Wsjt-x together.
You can communicate with the FT-8 while listening to AM broadcasts.
Or, while listening to CW notes, the computer will continue to decode the JT-65 or FT-8 signals.
SDR-Console supports multiple receivers, so all of these are possible.
6.Install Virtual Audio Cable
SDR-Console and Wsjt-X are transmitted through a virtual audio cable.
In other words, the signal received from RTL-SDR will be delivered immediately to Wsjt-x without using a separate sound card.
To do this we need to install the Virtual Audio cable.
The Virtual Audio cable has a wide variety of products. There is also free and there is also Shareware. Search the Internet and install your favorite products.
The following RTL-SDR homepage introduces various free Virtual Audio cables.
https://www.rtl-sdr.com/free-virtual-audio-cable-alternative/
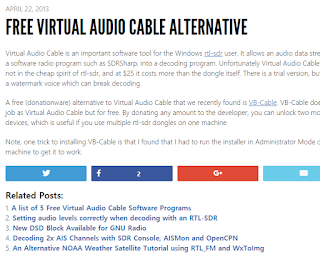
Create Virtual Audio Line
Below is an example of a program I use. The setup screen will be different for each program you have installed.
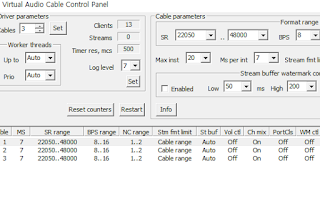
7.Configuration Virtual Line in SDR-Console
The screen below is my tip. You do not have to follow it.
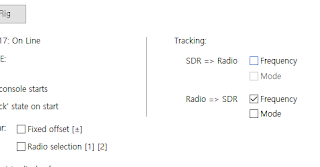
I set the SDR not to control my transceiver frequency when I make a digital communication using SDR.
Frequency control can be done only by Wsjt-X.
In the External Radio Window, Click the '?' Button.
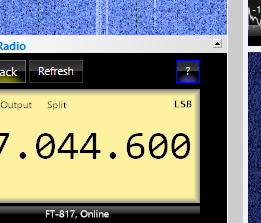
Uncheck SDR => Radio Frequency.
(After the digital communication is finished, it must be checked again to track the frequency.)
Set the frequency for digital communication.
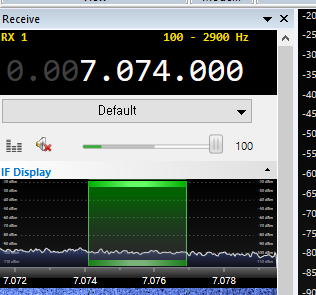
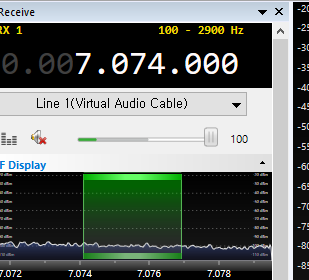
Set the audio output to Virtual Audio Cable.
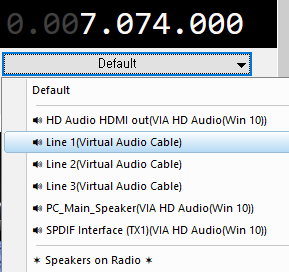
Below is an example of Virtual Audio Cable.
(It may be different depending on the product of the Virtual Audio cable you have installed.)
8.Configuration Wsjt-X
(The basic usage of Wsjt-X is not covered here.)
Select the Rig to control as 'OmniRig Rig 1'.
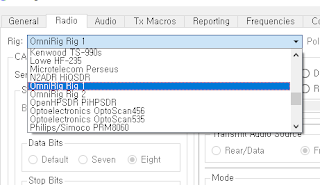
Below is an example I set up.
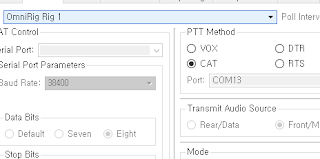
Go to the Audio tab.
Only Audo In changes the setting.
Select Audio Input as Virtual Audio Cable.
Talk again, but leave the output un changed

9.Add Reveiver
Add Receiver for example of using SDR-Console.
We will receive Morse while Wsjt-X decodes FT-8.
Click the '+' Button (New Receiver)
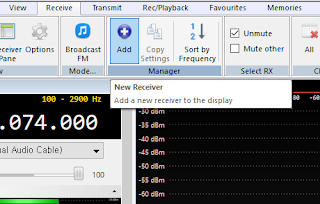
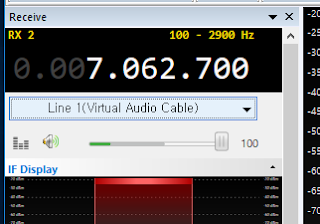
Set RX2 (newly added receiver) to the communication frequency you want to hear.
(RX1 is 7.074Mhz.)
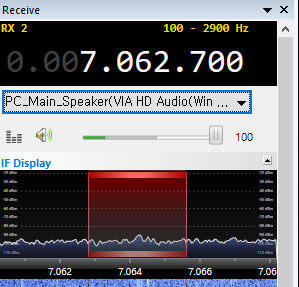
Change to PC Speaker to hear the received sound.
You can continue to add Receivers this way.

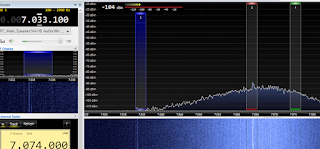
I added one LSB and one CW mode for example.
In the figure below, you can see CW, LSB and USB are receiving at the same time.
RX2 (LSB) and RX3 (CW) will be heard through computer speakers.
RX1 (USB) is set to Virtual Audio Cable at 7.074Mhz frequency and you can not hear the incoming sound.
In RX1, the incoming sound is delivered directly to Wsjt-X.

Your Wsjt-X will continue to decode the digital signal.
11.My Tip2
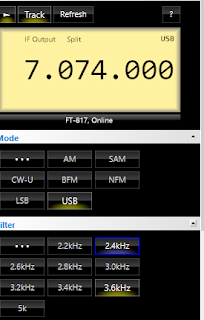
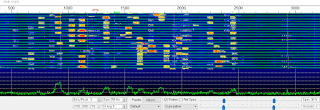
The new mode of the FT-8 requires a slightly more extended frequency.
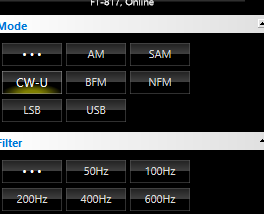
If you select more than 3.6Khz in the Filter tab as below, signal extended to Wsjt-X will be transmitted.

Good Morning Dr. Lee,
ReplyDeleteAgain, my question is can you transmit while using the SDR??? Since the SDR connection is in the IF 12 Mhz portion of the board, will this cause any issues if you transmit?? Could you ruin your dongle or PC or even the uBitx by transmitting on your uBitx??
Thanks for any comments you can give me.
Juddie, WD8WV
Hello Dr. Lee,
ReplyDeleteI hope this message finds you well. I've been exploring the capabilities of the SDR as outlined in your insightful article and I have a query regarding transmission. When the SDR is connected to the IF 12 MHz section of the board, is it safe to transmit, or could this potentially lead to any complications? Specifically, I'm concerned about the possibility of effecting the PC, or the uBitx itself during Radio Colombiana transmission. Your guidance on this matter would be greatly appreciated.
Kind regards,