How to use Nextion LCD #1 - Start Nextion LCD
I do not know much about Nextion LCD. During the production of uBITX Firmware which is HF Transceiver, I was introduced by several OMs, The ultimate goal of this article is to create a GUI for the HF Transceiver.
uBITX CEC Version officially supports Nextion LCD from version 1.09.
I will support 2.4 "and 2.8" LCD by default. You do not need to understand everything below to connect uBITX Nextion LCD. Just use the Nextion Editor to load the firmware on the Nextion LCD. If you want to create your own GUI, please read these articles.
How to use Nextion LCD Series
#1 Start Nextion LCD
#2 Programming and application
#3 - Practice for use with a transceiver
#4 Applied to HF Transceiver
#5 Advanced Application (Applied to various sizes)- It is a TFT LCD with built-in Font, Control etc. required for GUI
This is why you can use the graphical GUI on small size MCUs like Arduino.
https://www.itead.cc/wiki/Nextion_HMI_Solution
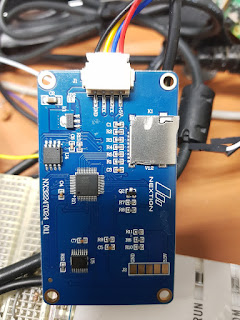
- It performs serial (UART) communication with MCU.
No extra circuitry is required to use the LCD.
Nextion LCD can handle +5volt TTL signals, so you can connect directly to Arduino.
A GUI interface is possible if you know you are only using Uart.
-Currently, 15 kinds of Nextion LCD are sold.
- For more information, please Nextion LCD homepage.
https://nextion.itead.cc/
2.What you need to use Nextion LCD
- Nextion Editor Software
(free, No membership required)
https://nextion.itead.cc/resources/download/
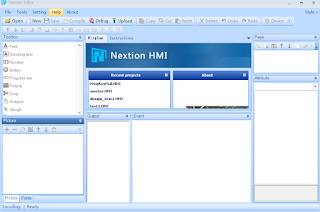
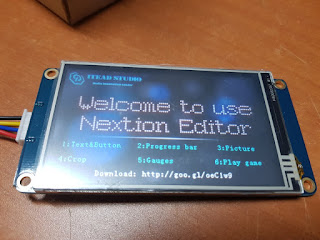
- Nextion LCD (option - Ironically, but really, Nextion LCD Editor is great. You can understand it in my next post.)
If you search for ebay, amazon, aliexpress, etc., you can purchase for less than $ 12.
https://www.ebay.com/sch/i.html?_odkw=usb+to+uart&_osacat=0&_from=R40&_trksid=m570.l1313&_nkw=nextion+lcd&_sacat=0
- USB to uart (serial) converter ($1 ~ $2)
https://www.ebay.com/sch/i.html?_odkw=usb+to+serial&_osacat=0&_from=R40&_trksid=m570.l1313&_nkw=usb+to+uart&_sacat=0
- I did not know Nextion LCD some time ago. So I made a purchase by searching on ebay or aliexpress. And I had to wait more than two weeks.
- However, knowing Nextion LCD was famous, so we sold most of them at internet shopping mall selling electronic parts.
- I recently purchased the 2.8 "Nextion LCD again and was able to purchase it for $ 12 each.
4.Install Software for Nextion LCD
Nextion LCD Software is excellent. It has a built-in LCD emulator so that it can be tested without Nextion LCD.
Even if you have Uart to Serial, you can also display the signal sent from the MCU in the Emulator.
-https://nextion.itead.cc/resources/download/

-click to download.exe and execute nextion-setup-v05xxx.exe
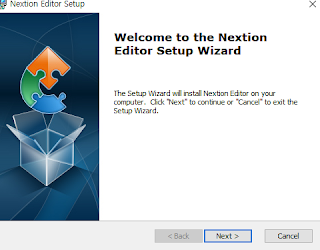
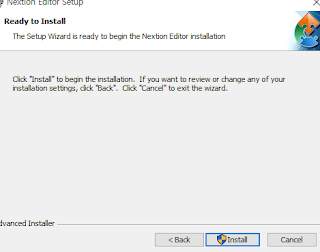
5.First Use - Create Project
-Execute NextionEditor
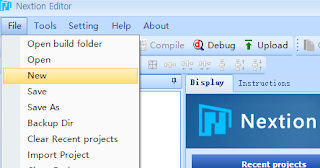
- File -> New -> Enter the directory and name you want and press OK.
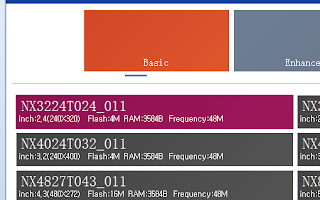
- Select the type of LCD you want to program.
Since I use the NX3224T024, which is a $ 12 LCD, I chose the following.
click 'Basic' -> Click 'NX3224T024_011'
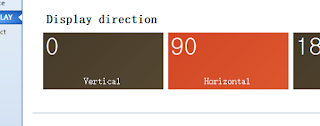
- Select Display direction - (Important, I could not find this and suffered a few hours.)
- Select Character Encoding set
If you are using a language other than English, select the appropriate character set for your language. If you want to display only English on the LCD, select ASCII.

- Generated project
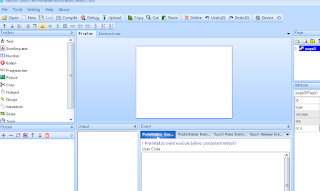
6.Font Generator
In order to output characters on the LCD, a font must be created.
You can embed the font you want on the Nextion LCD.
Tools -> Font Generator Click
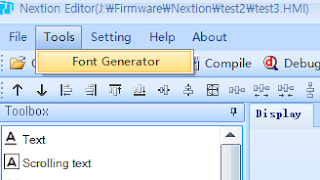
Select Height (32)
Select Code (Ascii)
Input Font Name (msgothic_32)
Click the Generate font
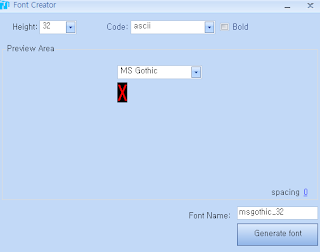
Input File Name (msgothic_32) -> OK

OK

OK (The generated font is automatically added to your project)

Close the font generator window.
Look at the bottom left of the Nextion Editor
You will probably see a Picture window like the one below.
Click the Font Tab.
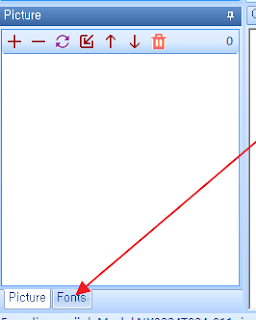
You can see the font you added.
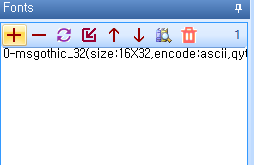
7.Printing text on the screen
- Output Hello World on the LCD screen
In the left Toolbox, click 'Text'
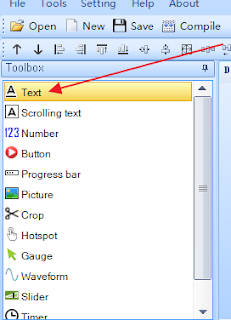
'Newtxt' appears on the LCD design screen.
This is called text control.
This text control is named 't0'.
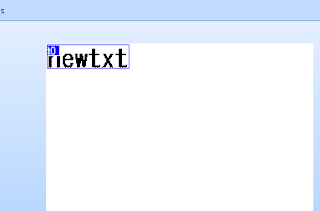
If you scroll down the Attribute window on the right side, it will be displayed as below.
Change the value of txt_maxl from 10 to 20.
(t0 The length of the character that the control can display at maximum)
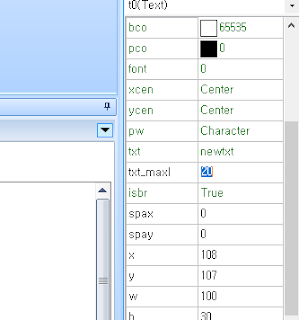
You can now enter up to 20 characters in 'txt'
In 'txt', enter Hello World.
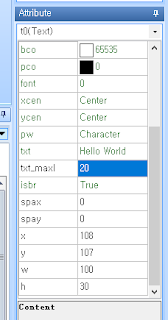
Move the t0 control to the center of the screen with the mouse
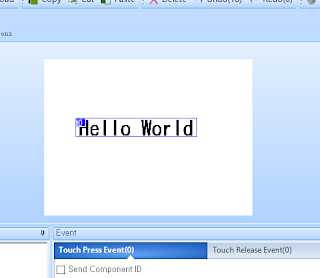
Click the 'Debug' button
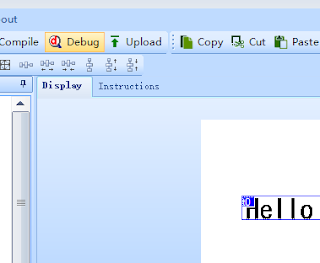
Congratulations. You have successfully programmed the LCD screen.
Now you have completed a complete GUI.
Now when you send data to the Uart in the GUI you created, it will be displayed on the screen.
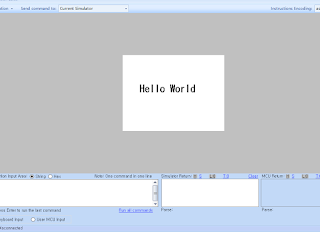
Nextion LCD provides a complete debugging environment.
Instead of programming to the MCU, we will pass signals directly.
At the bottom, you will see the following window.
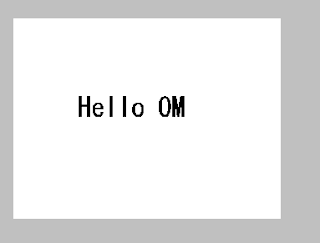
Type 't0.txt="Hello OM"' and Enter.

The LCD will change as shown below.
8.Upload a GUI program to the LCD
- Connect 'USB to Serial' to your computer.
Check your USB To Serial port on the control panel.

Connect USB to Serial to Nextion LCD.
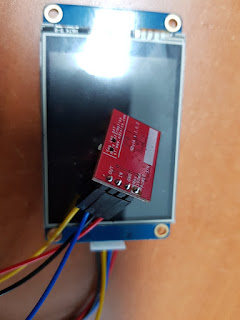
Black : GND
Red : +5V
Yellow : MCU(TX) -> Nextion LCD (RX)
Blue : MCU(RX) <- Nextion LCD (TX)
- Click the 'Upload' button in the Nextion Editor.

The following window will appear.

Select Comport, Speed does not change (115200)
(Important : Nextion LCD uses 115200 for firmware upload and 9600 for data transmission and reception)

click the 'Go' Button

The upload progress rate is shown below.
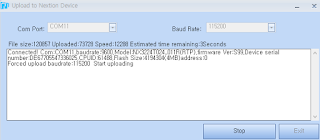
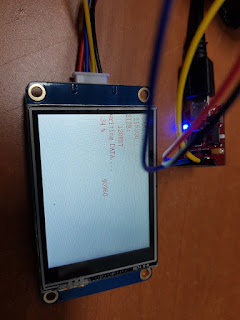
When uploading, Nextion LCD is displayed as below.
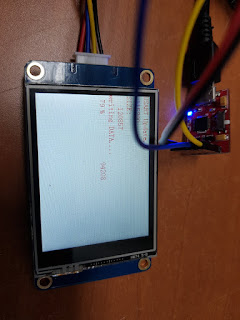
When the upload is completed, it will be displayed as below.

When the upload is complete, the program you created appears on the LCD.
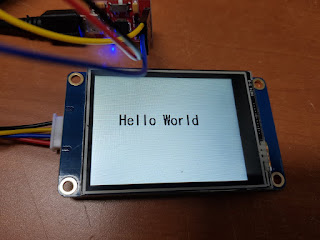
-You will now output Nextion LCD if you connect Nextion LCD to the MCU and transfer data from the MCU.
example)
Serial.print("t0.txt=Hello OM");
Serial.write(0xFF);
Serial.write(0xFF);
Serial.write(0xFF);
The Nextion LCD protocol is simple. You only need to add three 0xFF at the end.
Below is a test video for this post
Thanks Lee, for your guidelines and the work you are doing on the Nextion display. I now wonder if we could totally eliminate Switches/Rotary Encoder if we agree to use the Nextion display ?
ReplyDeleteNow I guess, the Interface between the Si5351+Arduino+Nextion is the most simplest in its form.
Charudatt
DeleteI expect your wonderful work.
You can probably use a touch screen to remove a switch or an encoder.
But I think I should keep the Rotarry Encoder.
Actually, the touchscreen is not perfect.
Commercial products seem to use the touch screen as an auxiliary input.
But if your project focuses on something simple, it's possible.
Especially if it is portable, it seems to be usable enough.
I know your amazing DIY skills.
Ian KD8CEC
Ian, I have a problem. I purchased a Nextion 2.8" display from ebay. What i received was model "TJC3224T028_011"
ReplyDeleteI followed your instructions for hello world and chose the nearest model for 2.8", on screen. The model number i actually have does not appear.
When I try to upload i get an error 'invalid model number "TJC3224T028_011R"
There appears to be no way to use the program with the Nextion display I purchased. Any ideas?
glenn vk3pe
Ian I had a look around the web and finally found out why. All TJC type displays are for the Chinese market and the Nextion editor does not allow them to be uploaded. Apparently there was a way with some previous versions of the Editor which I found also tried but to no avail.
DeleteI think a warning about using 'Nextion" displays, but actually shown as TJC types should not be used. Unfortunately ebay (as usual) sellers do not tell us this.
Ian,
ReplyDeleteI am going to order a 2.8 display from Nextion, is Enhanced necessary or benfit in any way?
Thanks so much for doing such great work doing all this development and programming!!
Ed KC8SBV
Hi,
ReplyDeleteI have also purchased a Nextion 2.8" display from ebay, and have received a model "TJC3224T028_011" display. What is the right Nextion 2.8" model that should be ordered? A NX3224T028 ???
Andrew VK4JAM
Thanks for Sharing such a useful information All in one pack with full on Information
ReplyDeletelcd display screen