Backup uBITX configuration using QR Code
If you are using the CEC firmware and Nextion LCD, you can back up the configuration file in a simple way. If you have an internet-enabled mobile phone, you can back up various configuration files.

1.Backup the configuration file in uBITX
The uBITX CEC firmware supports three backup methods.
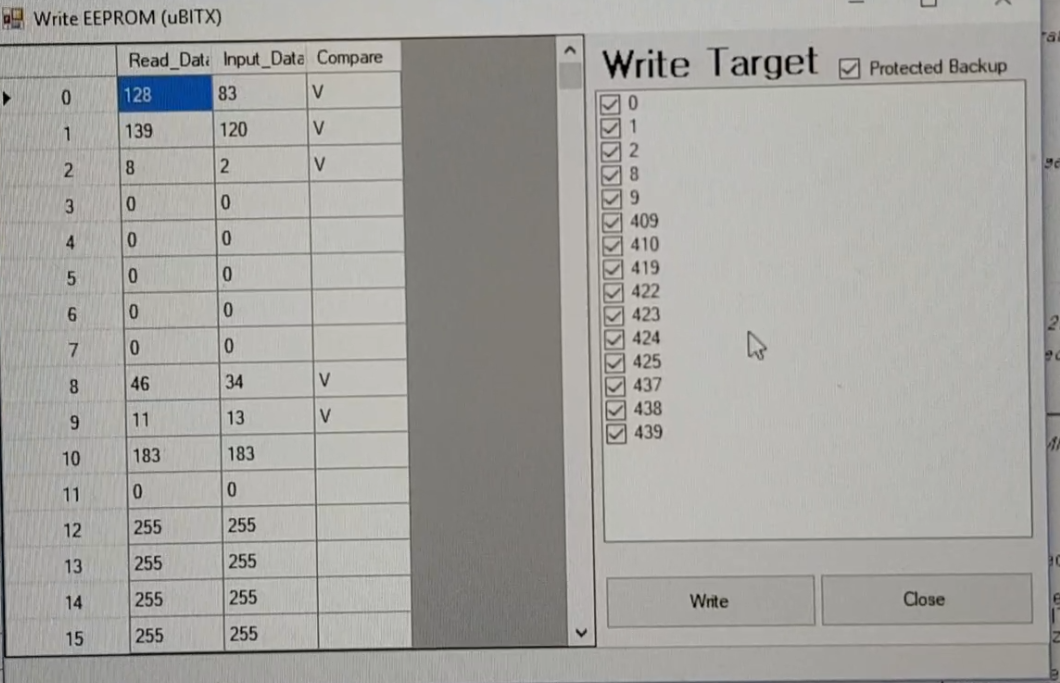
The first method is to use Save to File, Load from File from uBITX Manager.

The second is Factory Reset.
Factory Reset is supported from Version 1.08 or later.
It is a way to automatically store the default settings in the uBITX EEProm when the CEC Firmware is first installed.
Click on the link below for more information on this.
http://www.hamskey.com/2018/05/introducing-ubitxs-invalid-calibration.html

The third is the QR Code method.
The first and second were available for both uBITX with CEC firmware, but this is only available to users using the Nextion LCD (or TJC LCD)
2.Backup using QR-Code
You may want to backup uBITX without a computer.
If you have a cell phone with a QR-Code reader app installed, you can easily back up.
I created a simple service program on the server linked to my blog and run it.
As soon as your cell phone reads the QR-Code of uBITX, your information is automatically backed up to the server.

Touch the CW Information Panel

Touch the 'CONFIG' Button

Touch the 'Read' <- in order to Read Calibration Information of uBITX

Touch the 'QR Backup' Button

You will see the 'QR Code'

Run QR-Code Reader on your cell phone.
Many kinds of 'QR-Code' readers are registered in the App store.
I recommend an app that automatically launches the web browser when it recognizes the URL.

I used a very old and old Android tablet.
Below are the QR-codes recognized.

3.Restore from Internet Server (Hamskey.com)
Every time you recognize the QR-Code of uBITX, the calibration information is stored on the server.
Since uBITX Manager Version 1.1, it includes a function to load the calibration information on the server.
Every time you recognize the QR-Code of uBITX, the calibration information is stored on the server.
Since uBITX Manager Version 1.1, it includes a function to load the calibration information on the server.

Run uBITX Manager, Connect, Click the 'Read' Button

Click the 'Load From Server'

Click the 'Get List'


Select Stored Data,
Click the 'Apply' Button

Click the Write to uBITX


Caution :
Backup and restores using QR-Code are based on call sign.
Before using this function, be sure to register your own callsign in uBITX.
I do not know if this feature will be useful or not. Nextion LCD (or TJC LCD) has built-in QR-Code API, I just applied it.
You can use the Nextion GUI to make things even more fun.
Below are videos taken while writing this post.
Ian I really like this feature and I stumbled onto it before you got this information posted. I was really glad that I had this option of backing up on the web. Great job Ian!!!
ReplyDeleteJuddie WD8WV
Thanks Juddie.
DeleteAny part number for this screen? Any know screen part number and firmware? Thanks.
DeleteWhere in Ubitx should I register my call sign? Isn't it there already because I can use WSPR mode and it works.
ReplyDeleteA second question: who could help in making the Nextion Basic 3.5 screen to full width and height.
At present the picture is way too small.
Or how could I expand it myself?
Kai
Thanks for using CEC Firmware
DeleteIn uBITX Manager, put your Callsign in 'My Callsign'.
1. At uBITX.net, you can find LCD files for most types.
Click the Download button at the top of the page.
(http://ubitx.net/download-category/3-5/ )
2. Search google using Keyword 'rich neese nextion lcd'
rich neese continues to make great design changes until recently.
he work with 3.2, 3.5 and more
Ian KD8CEC
Ian, I am sorry, but I need your help: I have used a Nextion 2.4 with success, and now I decided to subtitute it with the 3.5 Nextion NX4832T035.
ReplyDeleteI have uploaded the ubitx_35.HMI file but when it finish, the display does'n t use the entire screen but only a portion. In other words, there is a vertical black portion at the right and an horizontal black portion on the low part.
I don't know if I have explained my problem, my english is not so good, I am sorry.
Thank you in advance for your help.
Best 73's. Paolo, iw6bet
I believe the are different files for each available size. If not wrong, that can be done bu updating one of them, or using the already available from the list.
ReplyDelete